

Concern
Creating A Concern
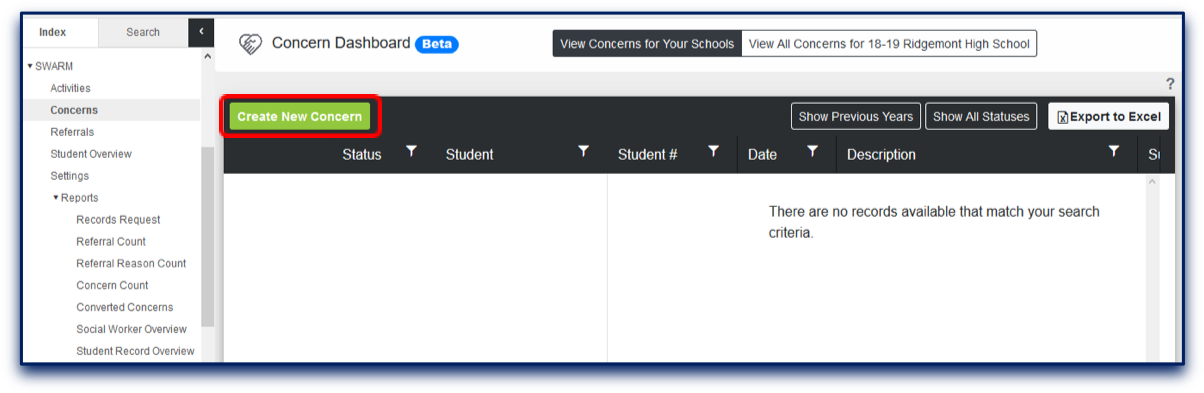
Navigate to the SWARM module within Infinite Campus. Click the “Concerns” outline link, followed by the “Create New Concern” button at the top left of the Concern Dashboard.
From the window that displays, search for the student for whom you would like to create a concern.

The top section of the resulting screen will display demographic information about the selected student, while the lower part of the screen provides fields allowing the user to describe the nature of the concern.
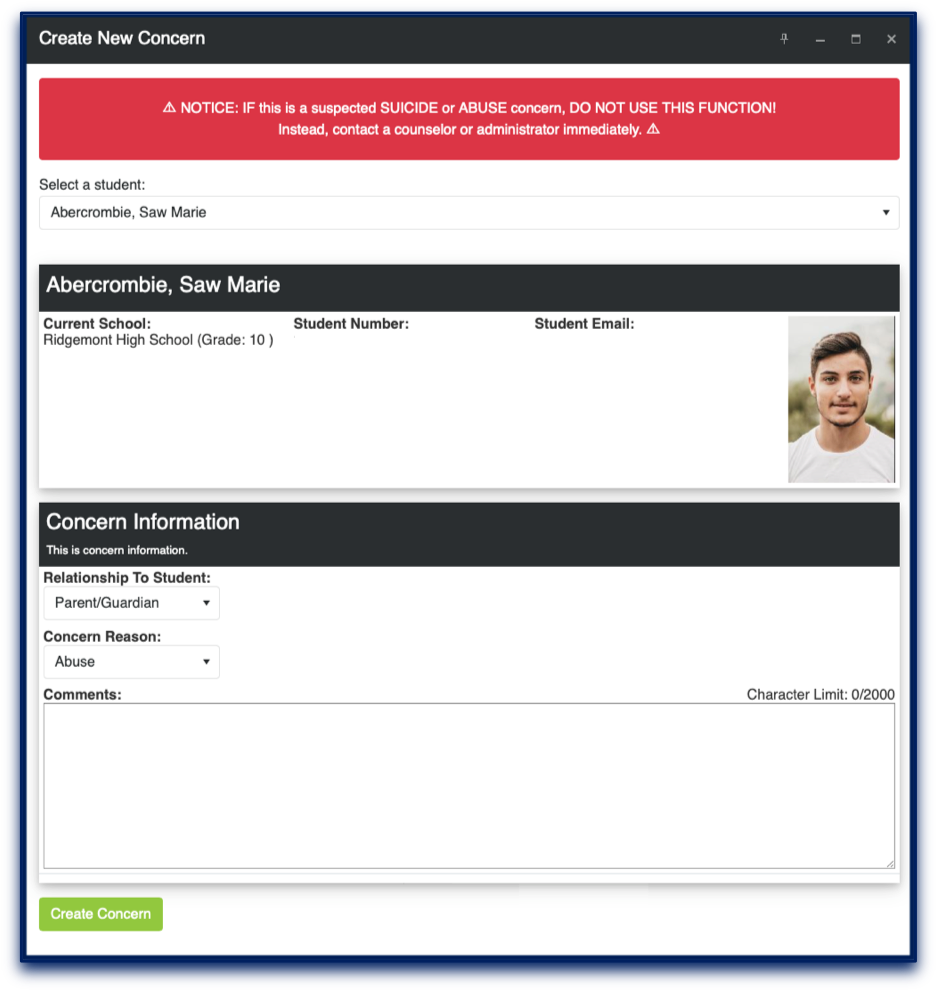
Please note that – according to the settings preferences determined by the district’s SWARM administrator – some districts will select from a Concern Reason droplist, some will fill in a Comments box, and some will have both options.
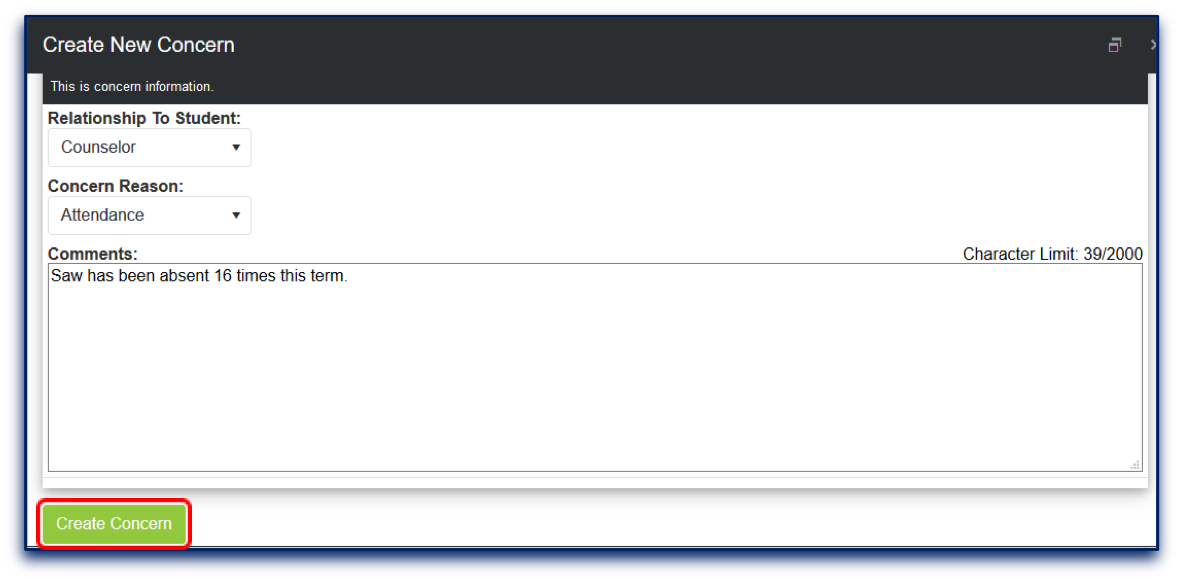
Once information about the concern has been added, click “Create Concern”.
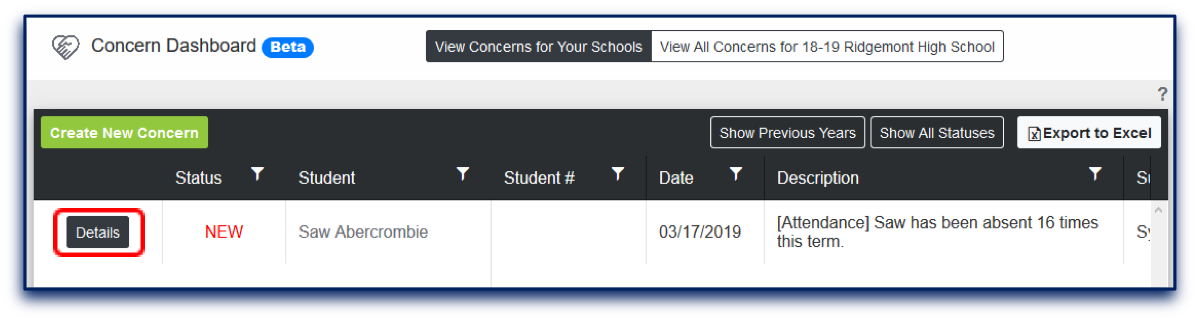
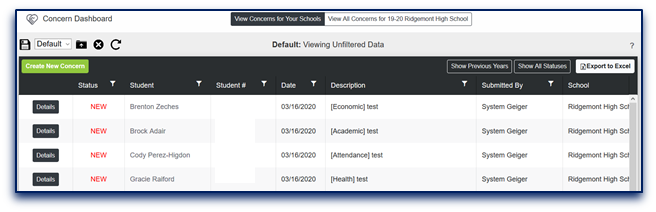
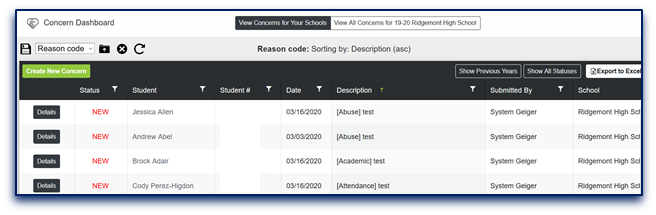
The user will now be returned to the Concern Dashboard. The just-created concern will display as “NEW”.
Concern Dashboard
The concern dashboard will display a list of any concerns submitted by the user who is currently logged in to Infinite Campus. If configured in SWARM settings, some users may also have the option to view all concerns for their location and may do so by clicking the "View All Concerns..." button above the dashboard
If a user with appropriate access clicks the “details” button to the left of a concern, s/he will receive the following options:
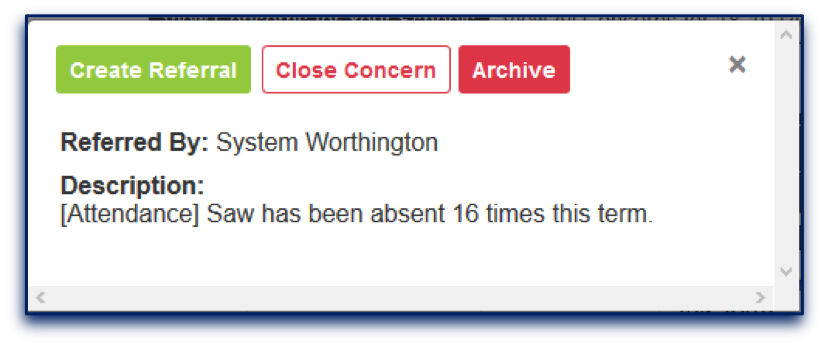
The “Create Referral” button is used for concerns that have been determined eligible for escalation to referral status.
The “Close Concern” button may be used when it has been determined unnecessary to further the concern into a referral.
The “Archive” button is only appropriate for concerns that may have been created by mistake and should not be counted toward Student Record at year's end. Once a concern has been archived, it will no longer display on the dashboard but will remain in the database.
Should the user decide to close the concern, clicking the “Close Concern” button will display the following dialog box:
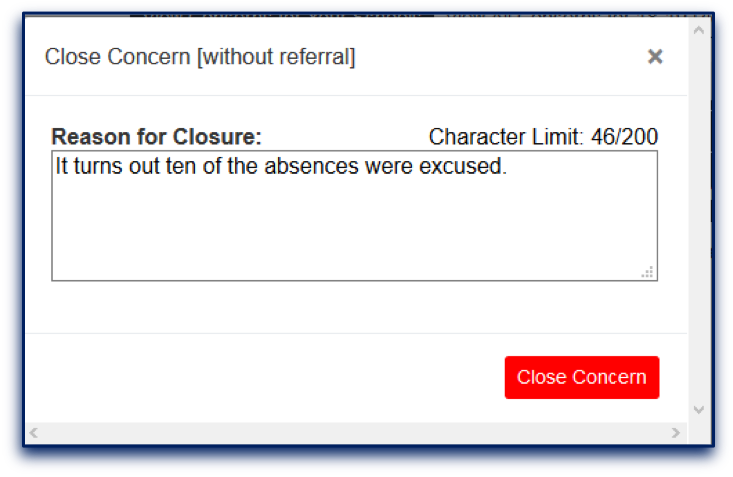
The user keys in the reason for closure, clicks “Close Concern”, and the concern is removed from the user’s dashboard.
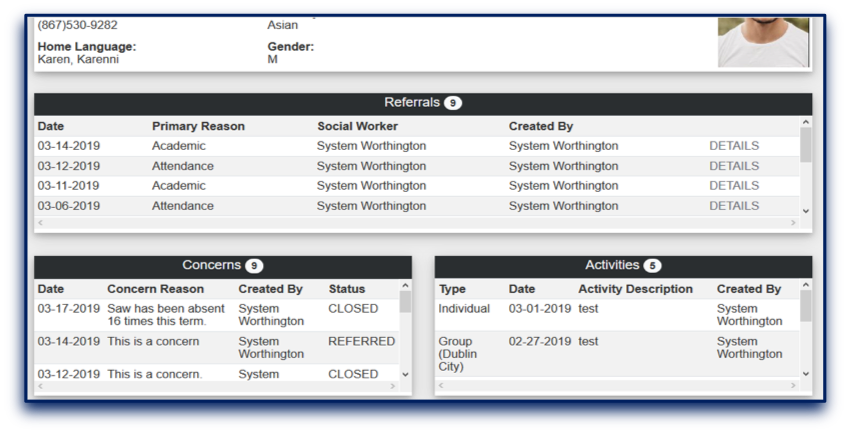
If the user would like to review the status of any concern s/he created this school year, clicking the “Show All Statuses” button at the top of the concern dashboard will return a list of all concerns, whether referred or closed.

The resulting list can be filtered by any of the headers at the top of each column.

Clicking the name of any student takes the user to the Student Overview page for that student (also available in outline links), which recaps all historical concerns, referrals, and activities for that student.
The Archive button should only be used in cases where a concern has been created in error:
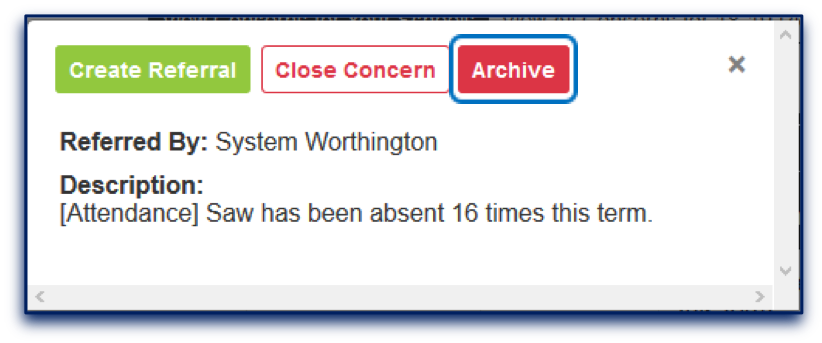
The user will receive the following dialog box:
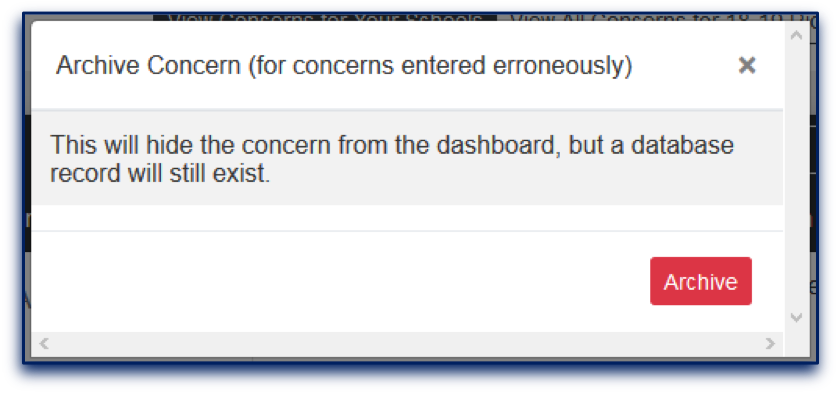
Both archived and closed concerns are available to view by clicking the “Show All Statuses” screen from the Concern Dashboard. Users with appropriate access can reactivate archived and closed concerns.
Sorting, Filtering, and Templates
After navigating to a concern dashboard, a user will view the newest transaction displaying at the top of the list and the oldest at the bottom.
SWARM dashboards are both sortable and filterable. By clicking any column header – the name header, for example – the list will be sorted in alphabetical order.
Click the name header again and the list is arranged reverse alphabetically.
Filtering a list reduces the number of entries that display according to selected criteria. Click the funnel-shaped filter icon...

...to set the parameters, followed by the “filter” button, and only referrals meeting the requested conditions will appear.
Users are able to build templates within SWARM dashboards to prevent the need to manually recreate often-used filters.
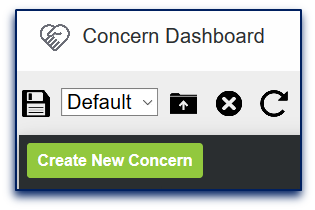
To create a new template, first sort/filter the dashboard list so it displays in the preferred order. Next, click the floppy disk icon...

...at the top of the page to name the template being created. (Staff with admin rights to SWARM will have an additional choice to create a global template for all SWARM users.)
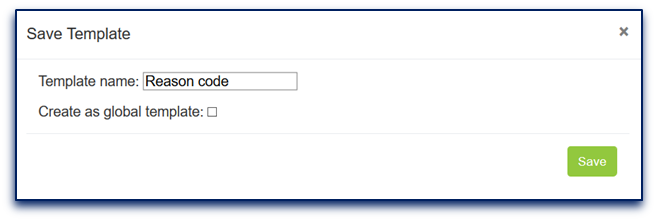
After the “save” button is clicked on this screen, the template will be available on the dashboard’s template dropdown list. To load the template, select its name, then click the file folder icon to the right of the droplist:

The template will load, at which point the concerns list will appear in the desired order and the header will show both the template name and the activated filters.
Other choices in the template area include a “delete” option...

...that will remove a template from the list, and a round arrow symbol...

...that resets the dashboard to its default template.
By Email:
By Phone: (706) 520-1125
A representative from our support team will respond to you as soon as possible.